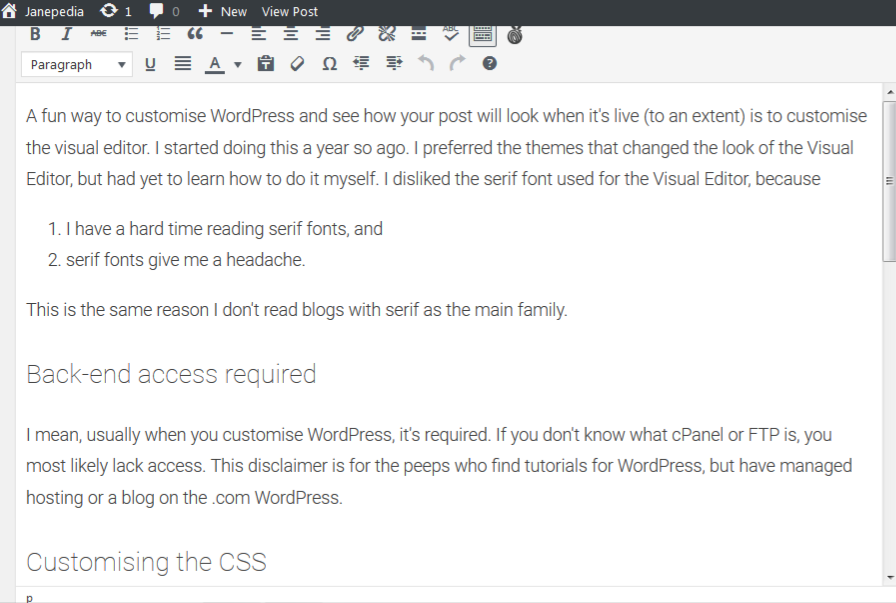
A fun way to customise WordPress and see how your post will look when it’s live (to an extent) is to customise the Visual Editor. I started doing this a year so ago. I preferred the themes that changed the look of the Visual Editor, but had yet to learn how to do it myself. I disliked the serif font used for the Visual Editor, because
- I have a hard time reading serif fonts, and
- serif fonts give me a headache.
This is the same reason I don’t read blogs with serif as the main family.
Back-end access required
I mean, usually when you customise WordPress, it’s required. If you don’t know what cPanel or FTP is, you most likely lack access. This disclaimer is for the peeps who find tutorials for WordPress, but have managed hosting or a blog on the .com WordPress.
Customising the CSS
Create visual-editor.css, and put it into your theme’s directory.
You can add pretty much whatever you want. #NerdOut ? If you make changes later, you might need to clear your cache or the name of the file to be able to see your changes.
Editing the functions.php file
To let WordPress know to call the style sheet, you’ll need to add the following to functions.php:
// custom visual editor
function visual_editor_style($url) {
	if ( !empty($url) )
		$url .= ',';
	// Change the path here if using sub-directory
	$url .= trailingslashit( get_stylesheet_directory_uri() ) . 'visual-editor.css';
	return $url;
}
add_filter('mce_css', 'visual_editor_style');
If you’ve changed visual-editor.css to something else, or put it into a sub-directory, you’ll need to change the strong/bold text in the snippet above accordingly.
And that’s it! I find this one much easier than when I customised my login page. ??
Love this post?
Support me by subscribing to my blog and/or buying me a cuppa:
Comments on this post
Basic HTML bloggers should know | Janepedia
[…] when I’m not needing to edit/write lot of code (like in this post, ugh), because I’ve styled my visual editor to match much that which you see when you read my […]
“Get your WordPress site ready for Gutenberg,” they say. But is Gutenberg ready for me? | Janepedia
[…] customized my visual editor to appear somewhat similar to my posts on the front-end and, as of a few months ago, use only one […]
Slice of September 2017 | Janepedia
[…] also grew bored of using Roboto for my Visual Editor font, so I switched it to Karla, and life is a lil’ less “blah AF” in terms of writing […]
Leave a comment